By Dan Garduno
In recent years I’ve learned quite a few different ways on how to garden. Some ways are very traditional with simple compost to soil and then planting seeds in the ground. And some ways are more modern with a twist of simplicity and ingenuity. Today I’d like to share with you a simple growing method known as self-watering containers or wicking beds/containers.
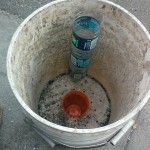
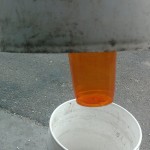
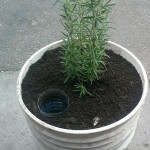
The idea of these systems is to make growing plants and starting seeds so simple just about anyone can do it. And keeping them alive in these systems is just as easy. These systems basically have a water reservoir underneath a grow bed and a wick to absorb the water up into the soil and directly into the roots.
Plants grow by taking up water through their roots and taking up nutrients from the soil around the roots. Constantly watering the plants from above ground eventually washes the nutrients out or down into the earth deeper. By using a wick to absorb water from underneath, just like a root does already, it helps to keep all the nutrients in the soil around the root without ever flushing it out as well as it allows the right amount of water naturally absorbed up into the soil and into the roots. The roots will only absorb as much water as the plant needs. The wick will never puddle/pool or over water your soil or your plant. It regulates a perfect constant moisture control for the roots. Some plants such as chile peppers tend to flourish in drier soils so these systems won’t work for some drier soil plants. However, these are excellent for tomatoes, basil, lettuces, non edible house plants, and so many more!
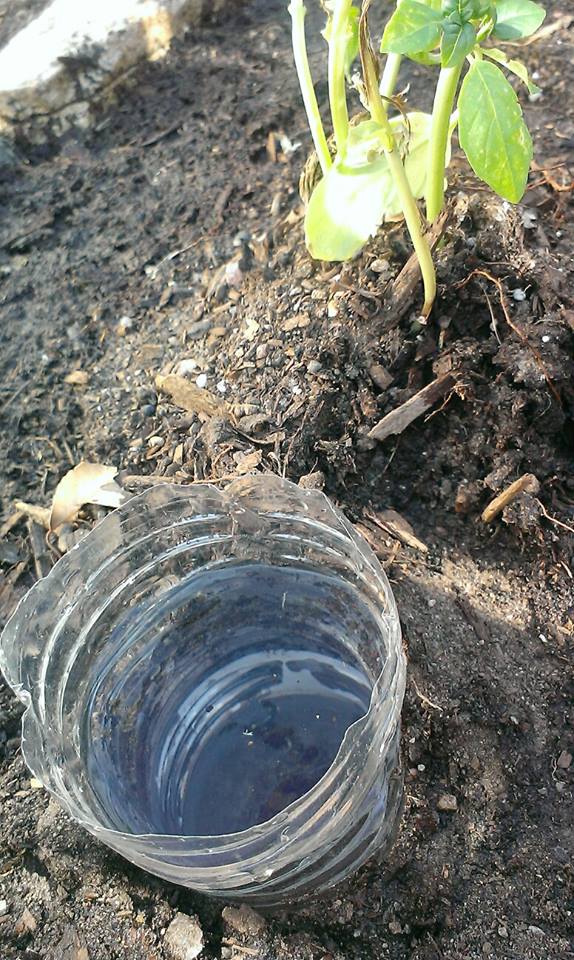
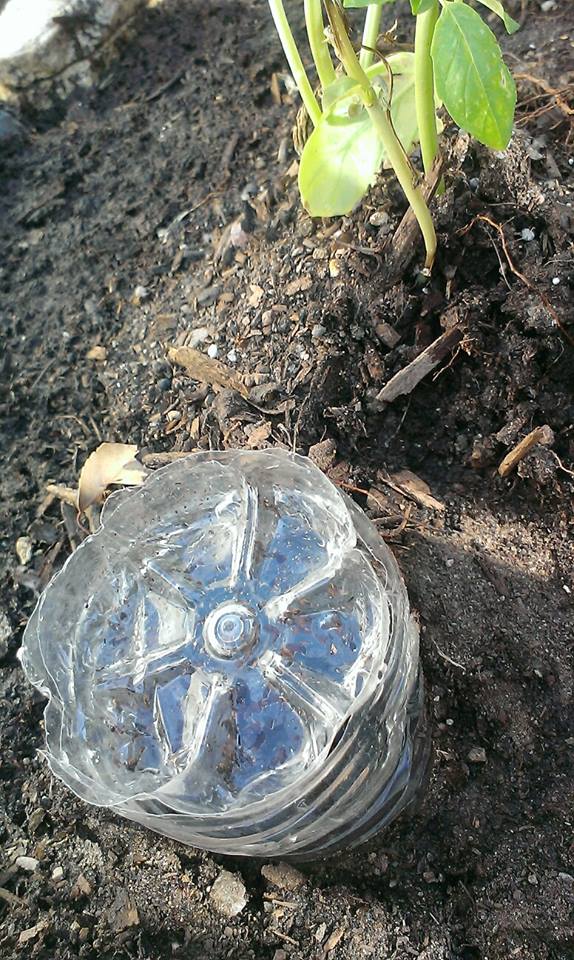
Make a simple self watering seed starter out of a plastic water bottle
You will need:
- Water bottle
- Scissors, knife, or razor blade to cut bottle and make a hole in cap
- Absorbent material for wick such as organic hemp string or twine, shami cloth material, yarn, or even strips of T-shirt. (Cotton T-shirt wicks tend to form mildew and will have to be replaced always)
- Organi Soil
- Organic Or Heirloom Seed
- Water
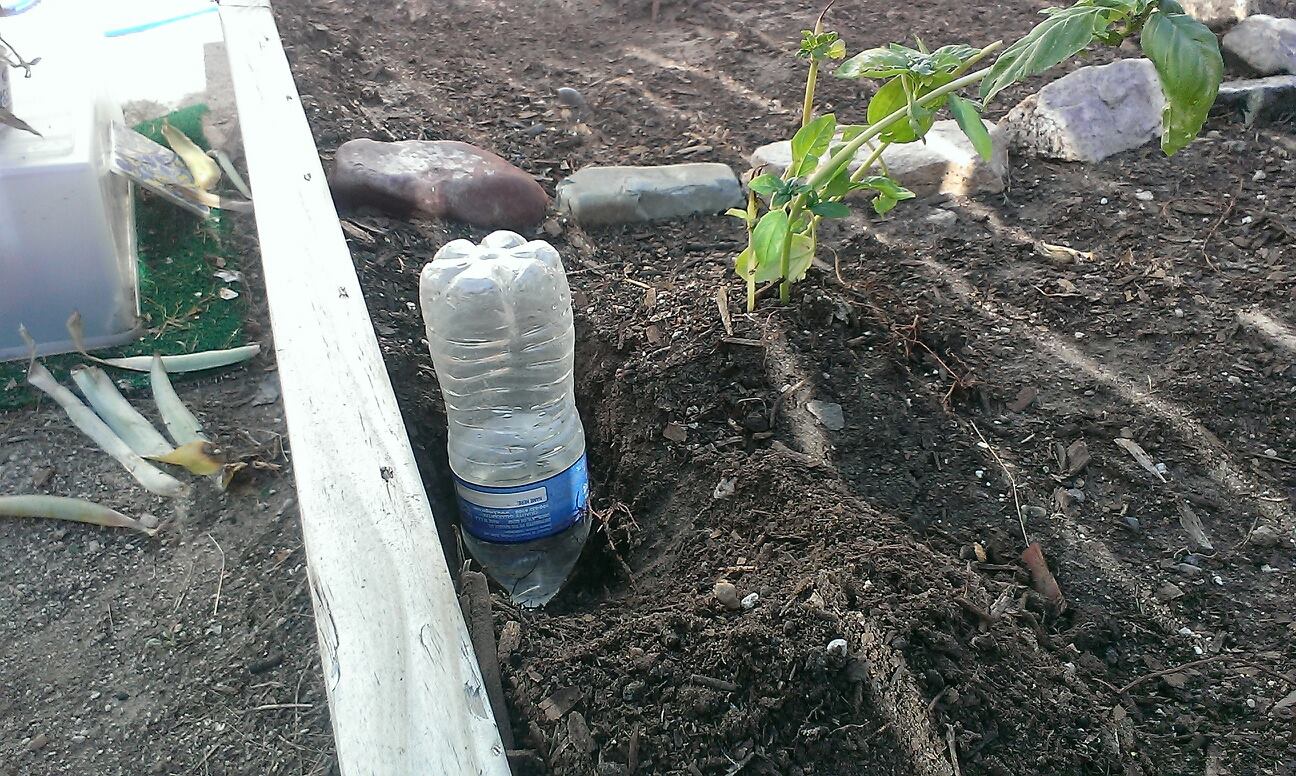
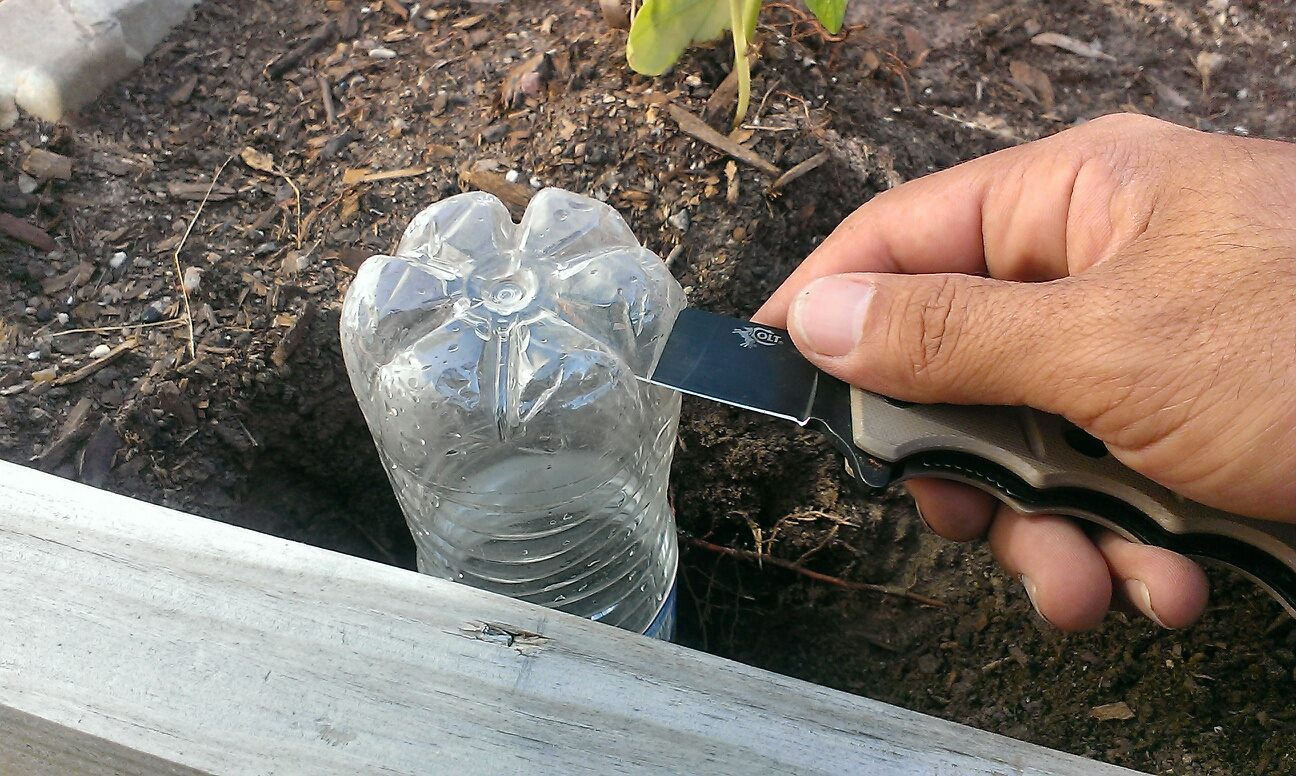
Step 1: You simply take an empty water bottle and cut it horizontally in half. Somewhere between half way and about 2/3 up the neck. Any size bottle will do; 12oz, 16oz, 1ltr, 2ltr, 3ltr, half gallon, full gallon. We will eventually use the top part of the bottle to add soil and grow in upside down inside the lower part of the bottle after we attach a wick through the cap. The lower part of the bottle will hold water.
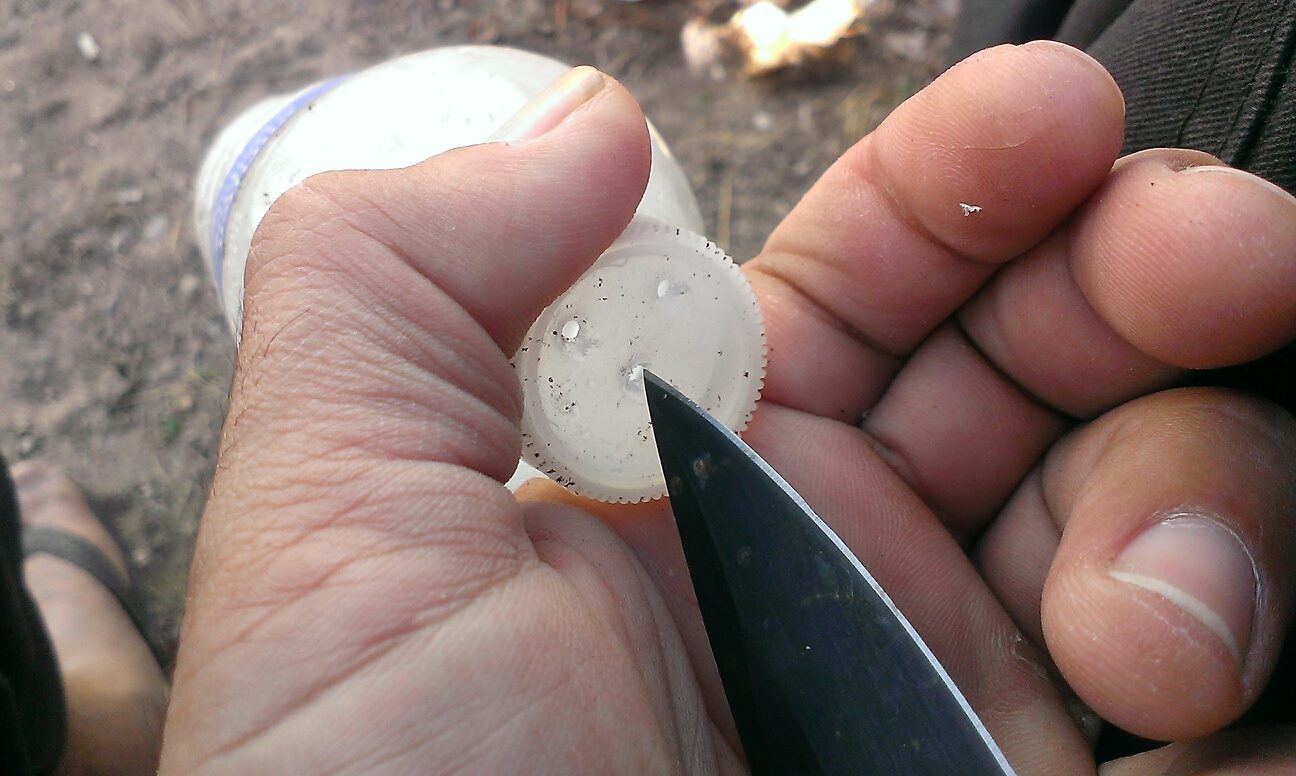
Step 2: We then cut a hole into the cap while its tightly screwed on the bottle still. Be extremely careful not to cut yourself! You van also try using a hammer and nail and remove cap and hammer through top of cap to make a small hole good for twine. Also try using a hot tent stake or phillps screw driver and melt a bigger hole through the cap by using a candle to heat tip and melt through cap when really hot. Ventilation is needed and should be done outside. But you then release fumes and probably shouldn’t be melting plastic at all.
Step 3: Once you have a hole in the cap for the wick you simply shove the wick into the cap and into the bottle neck. The idea is to have a long enough wick so it will reach all the way to the bottom of the water reservoir as well as into the neck a good inch or two to saturate the soil and pull water up into the seed and eventually the roots.
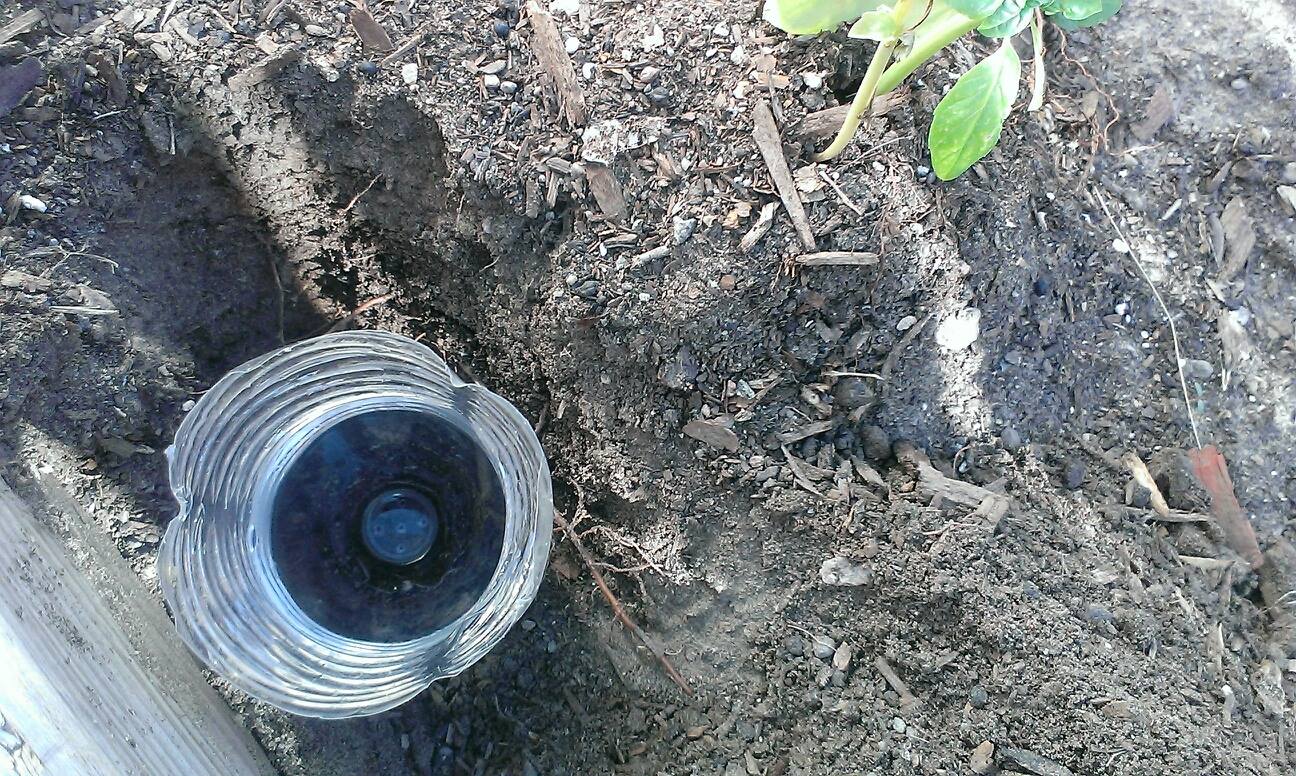
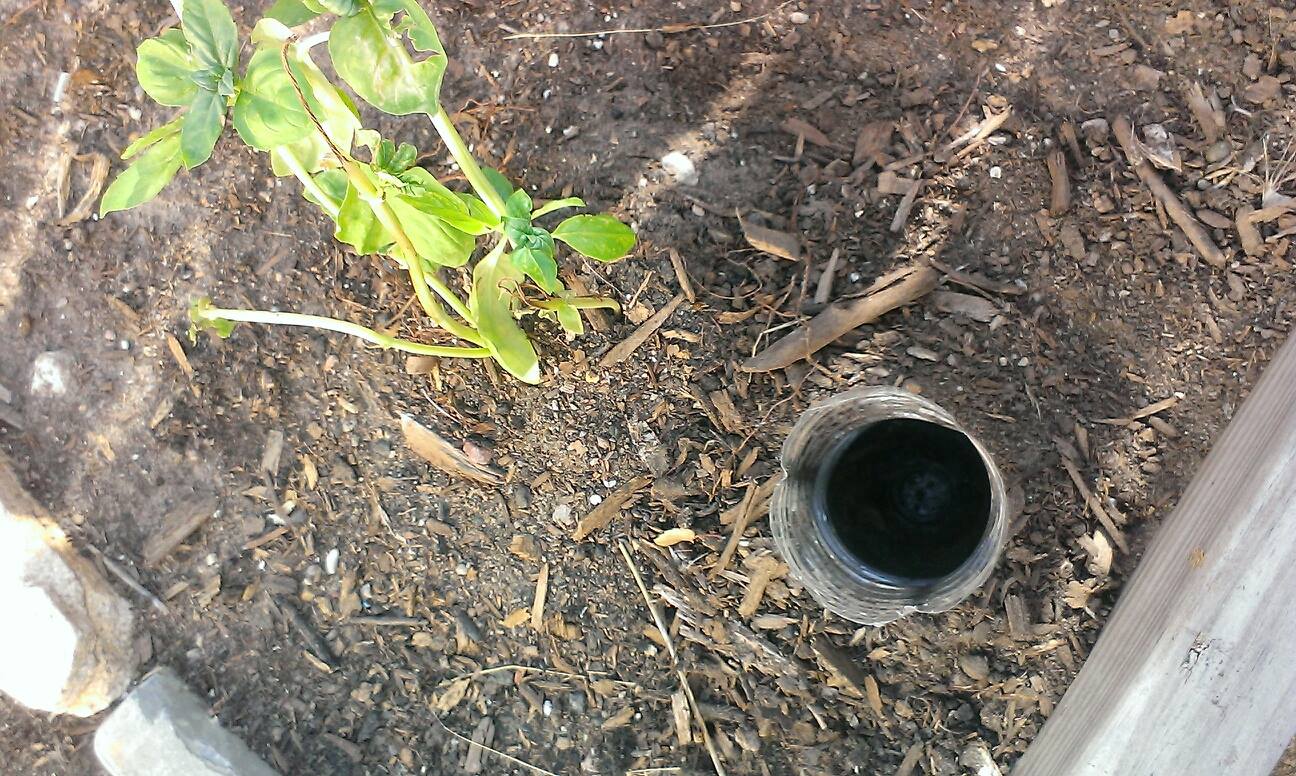
Step 4: Add soil into the upside top part of the bottle around the wick into the cap and neck of the bottle fill this to the top. The wick should be hanging down from the cap now. You then fill the bottom of bottle with water and put the wick side of bottle with cap down into the water. You only need to fill water until the cap is just barely submerged into the water. You don’t want the soil to be sitting in the water.
Step 5: Add the seed into the center of the soil about 1/2″-1″ deep by using your finger or a pencil to make a hole to drop the seed in. Then cover with soil and place your new self watering planter in a windowsill or somewhere it will receive a good amount of light.
You will only need to water it once a week and maybe even once every two weeks. Its so simple to take care of many seed starts like this without worrying about letting the soil dry out too quickly and kill the seedling. That is the main reason most people don’t try to grow their own plants. They forget to water them only once and the plants are lost. And its so frustrating.
That is why this is such a simple and easy way to starts seeds and grow plants as well as helping to keep our own waste/plastic bottles out of the landfills as well!
Try to make one today!
Thanks for getting BACK TO NATURE with “TheGlassman“!
*****
[contact-form to=’communitypublishingabq@gmail.com’ subject=’Subscriptions’][contact-field label=’Enjoyed this article? Type in your email address to receive similar articles, no ads, no spam, no charge!’ type=’email’/][/contact-form]

Dan Garduno
“The Glassman” will be posting more blogs and ideas as well as hosting many workshops on Self-sustainability, urban farming/agriculture, windowsill gardening, composting, upcycling, self water planters and grow beds, solar passive heating, collecting and purifying rain water, mass heaters and rocket stoves, papercrete, hemp cement, and so much more throughout 2015!
Community Publishing brings local artists of all mediums together in creative collaborations for distribution as multimedia eBooks while promoting literacy in our communities.
We are proud to be a community partner and digital marketer at the Rail Yards Market.
#JoinOurCommunity at http://communitypublishing.org“

 Did you know you can find “The Glassman’s” self watering containers on display at the


